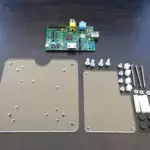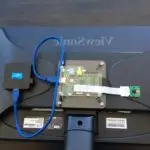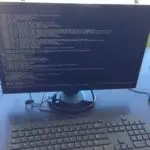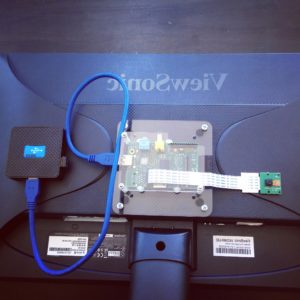
After a few weeks of using my 50″ television as a display while working on my time-lapse project it quickly became hard to work with. I decided to downsize to a desktop workstation solution. I don’t have much space in my apartment so I needed a compact solution that I could pack up when I’m not using it. A small computer monitor with a raspberry pi case would work. I found a VESA mount raspberry pi case that I could use and thought this was a very compact solution to my problem. It’s also a very clean way to keep all the gear in a nice tidy package.
The VESA mount I got came from Adafruit who produce a bunch of great products for the raspberry pi and the arduino. You can find the mount here. I selected the ViewSonic monitor because it comes with the VESA mount point and a stand. My current Samsung display the stand plugs into the VESA mount which won’t work for my setup.
My solution for my new compact raspberry pi workstation is the following
- ViewSonic VA2246M 21.5″ LED LCD monitor
- Raspberry Pi VESA Mount
- Dell USB keyboard
- Dell USB Mouse
- 4 Port Powered USB Hub
- ASUS N10 wireless
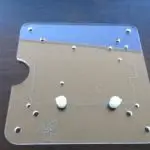
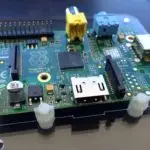
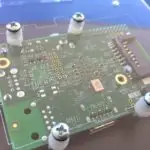
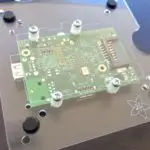
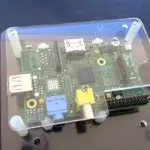
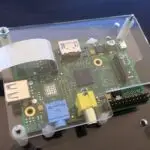
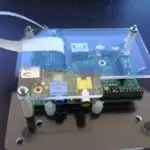
The VESA mount came in a snaplock bag with no instructions and I didn’t find any with a quick search so I thought I would go through the steps required to put it together. You can check out the gallery below.
