I’ve been making this no-bake cheesecake recipe for over 20 years in various forms. My two main versions either use an Oreo base or a plain biscuit base. I will sometimes add various fruit to the cheese but that’s about it. This recipe is the Oreo base version. It’s quick, tasty and requires no baking.
Something you won’t find here is a 1000 word essay before my recipe to explain my life. It’s a terrible trend I have noticed in recent years when I look for recipes. If your recipe article as a ‘jump to recipe’ section, you suck. Just give me the recipe.
No-Bake Cheesecake Recipe with Oreo Base
This shouldn’t take you more than an hour to make and a couple of hours to set. This no-bake cheesecake recipe is extremely easy to make. This recipe will make two 25cm cheesecakes or one giant cheesecake, that’s up to you.
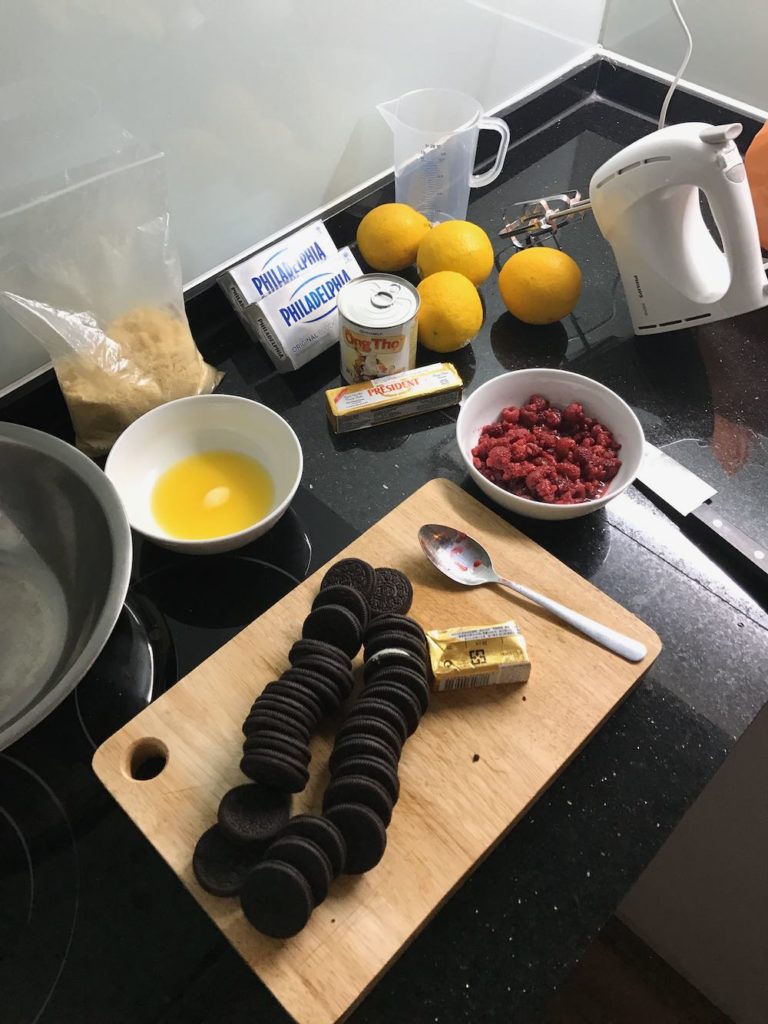
Ingredients
- 400 grams Philadelphia cheese or any other brand you like room temperature
- 1 can sweetened condensed milk
- 2 tablespoons lemon juice
- 2 packets of chocolate Oreo’s (24 Oreos)
- 60 grams of butter
- 1 teaspoon vanilla extract/essence
Equipment
- Handheld mixer or bench mixer
- Food Processor or heavy Ziplock bag
- Bowl
- Small microwave-safe bowl
- Spring-loaded cake tin
- Spatula
- Paper towel
Make the base
You need to make the base first as it needs a couple of minutes in the freezer to set while you make the filling.
- Separate the Oreos and remove the filling as cleanly as possible. You can do this by putting them in the fridge for 5 mins to stiffen the filling up. Once you do this, it is very easy to scrape the filling out and set aside.
- Throw the chocolate biscuits in the food processor and pulse until it’s into fine pieces but not dust. If you don’t have a food processor you can put the biscuits in a ziplock bag and roll a bottle or rolling pin over to break them up into fine pieces. I find this method to be extremely effective, but it will destroy the ziplock bag.
- Melt the butter however you choose. I use a microwave in 25-second bursts. Stir between bursts. This is to make sure the butter doesn’t explode in your microwave.
- Combine the biscuit mix and butter in a bowl and then mix until combined evenly.
- Wipe the edges of the bowl you used to melt the butter to grease the cake pan. Pour the base mixture into the tin and flatten evenly. Put it in the freezer while you make the filling.
Make the filling
Now to make the filling for this no-bake cheesecake. When I said no baking, I meant it! Time to make some tasty cheesecake filling on the go!
- Make sure the cream cheese is room temperature first. Add cream cheese into the mixing bowl, for the hand mixer or the bench mixer.
- Mix on medium for a couple of minutes. Then with the mixer still on, slowly pour the condensed milk into the bowl.
- Stop occasionally to scrape the sides and mix it all in
- Keep mixing till you have a smooth consistency with no lumps. Add the lemon juice and vanilla essence and mix for a couple of minutes
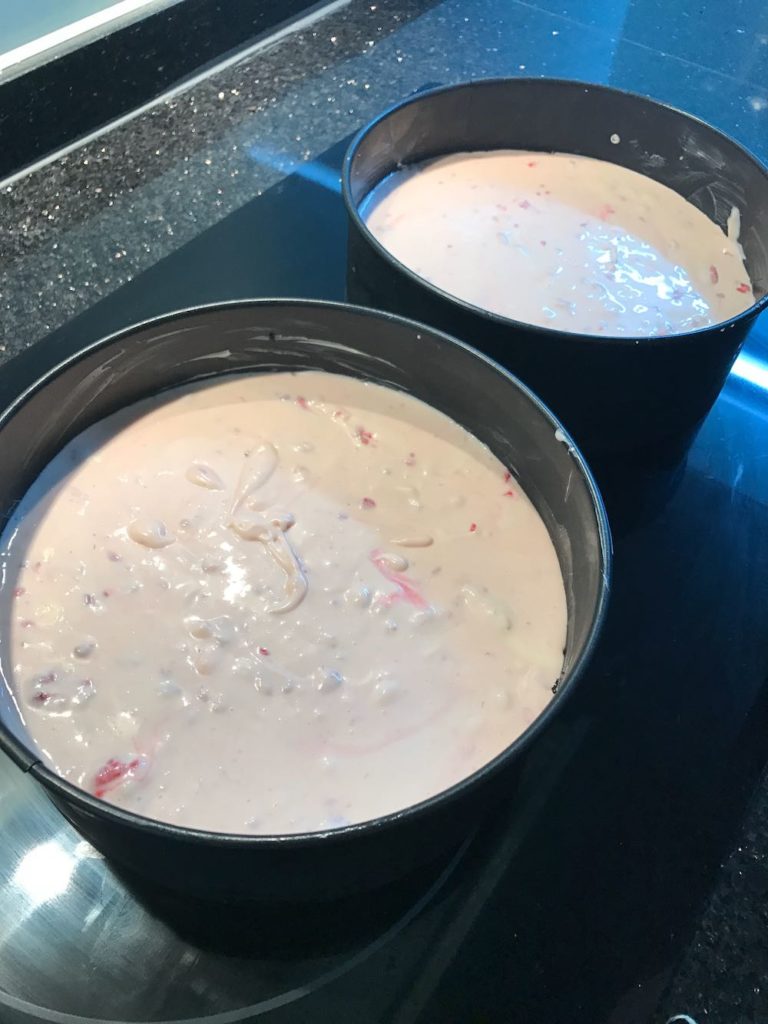
- Get the base out of the freezer. Grease the inside of the tin again, then pour the filling in.
- Put into the fridge for a couple of hours and then add whatever toppings you want. If you can leave it in overnight it’ll set much better.
Notes
- If you want to add fruit to the filling, any kind of berry is fine. Just make sure if you’re using frozen berries, that you drain the liquid before you mix them in.
- Fold the berries into the mixture, don’t use the mixer to do this.
- You can use lactose-free cream cheese
- Don’t use more than a couple of tablespoons of the lemon juice otherwise the filling won’t set. Ignore how many lemons I have in my photo!
- You can replace the Oreos with any plain biscuit, my alternative is Arnotts Nice Biscuits.
- Not to worry my vegan friends! I’ll have a vegan version of this recipe up next month.
The End
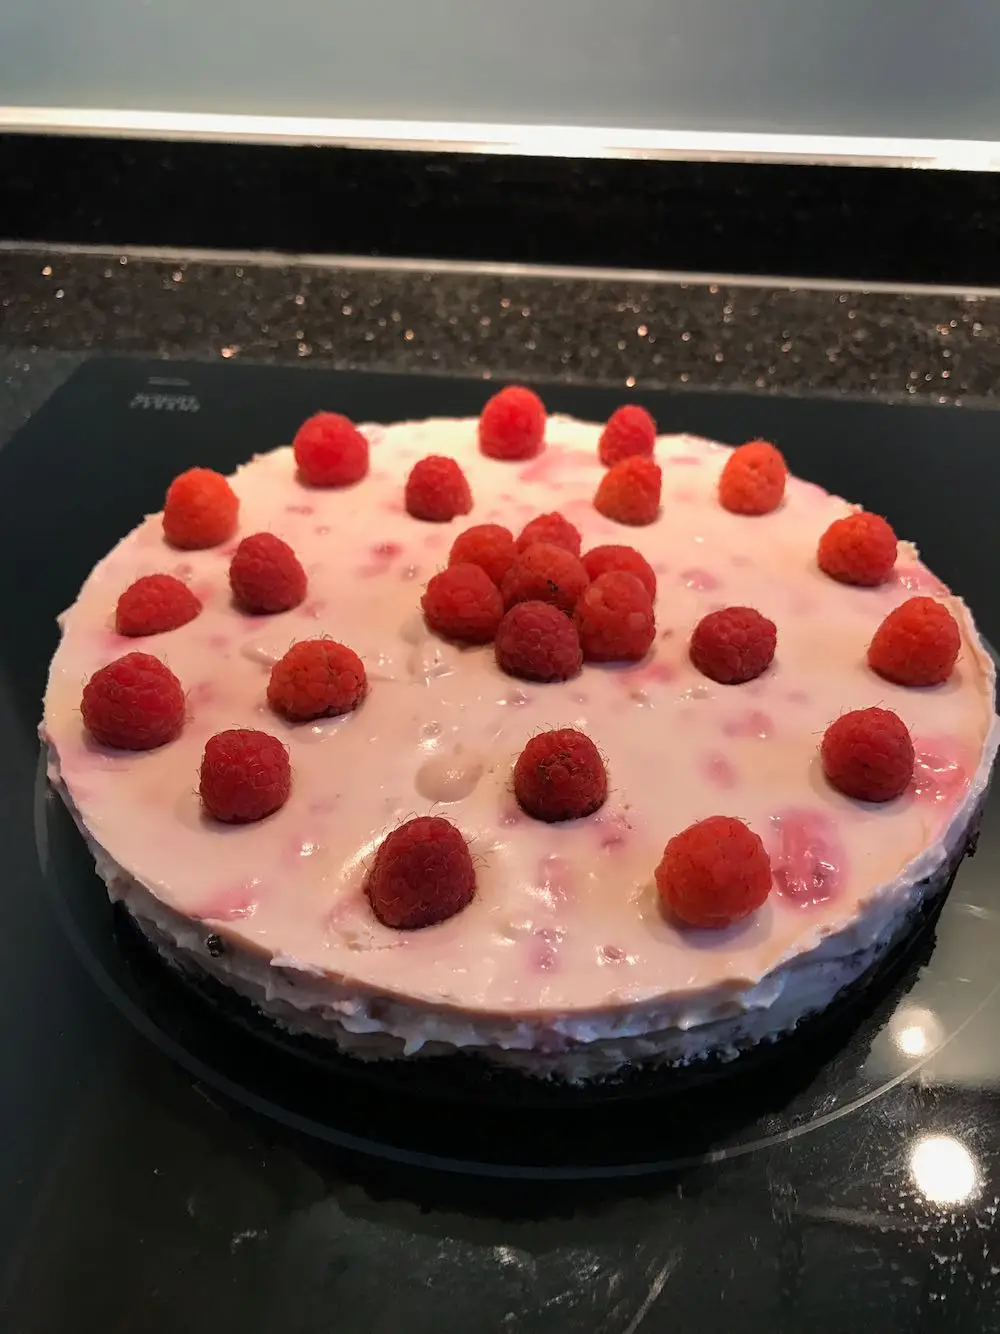
Once this no-bake cheesecake has spent a couple of hours in the fridge it’s ready to serve. Expand the spring base and remove from the base. It should slide out easily and be ready to cut.