After getting the wireless network card working on my raspberry pi I got straight to work on testing out the camera module on the pi. I found a lot of websites talking about how the module works and how to hook it up. The commands you need to take photos and stills but a severe lack of real samples of what happens when you run those commands. So I thought I would write this post to show you what happens when you run the commands to get raspberry pi camera module samples.
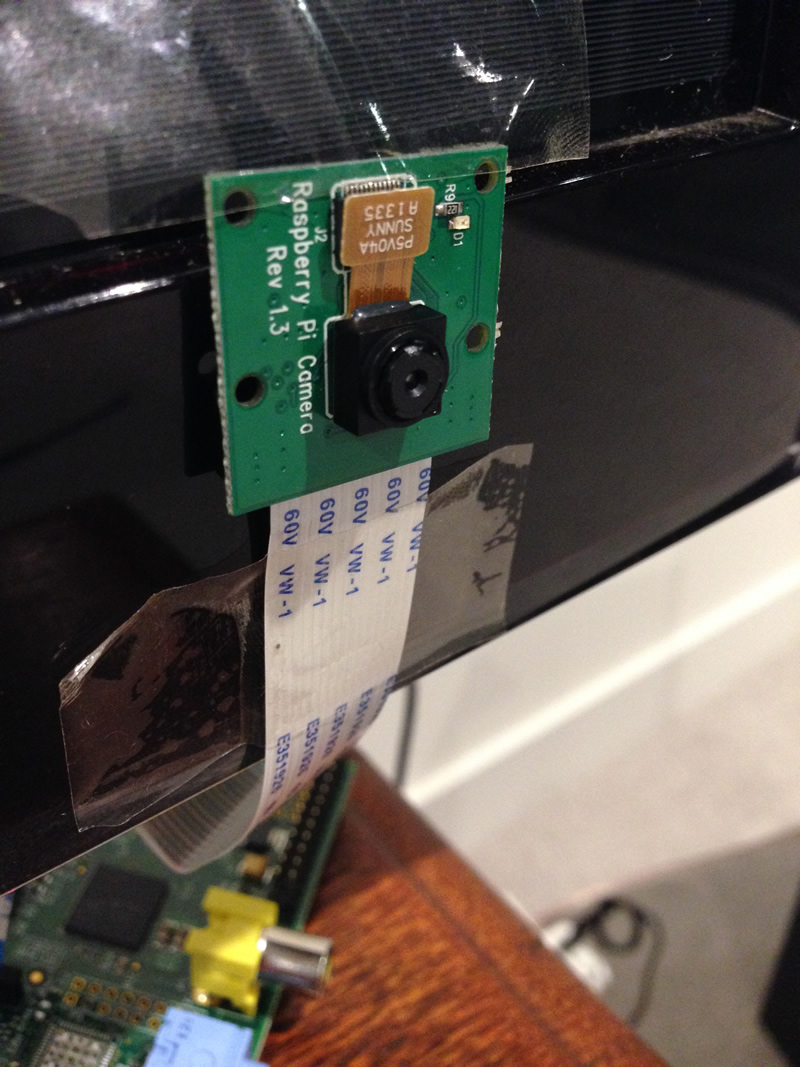
2I hooked the camera up and stuck it to the front of my television. The connection for this camera couldn’t be any easier. Once you have the camera module installed you’ll need to enable it in with the raspberry pi config software.
Run the following command to set up the camera module.
sudo raspi-config
This will bring up the raspi-config curses system key down to camera to enable the camera, then reboot your pi.
Once you’ve rebooted and are back into the user interface, Raspbian supplies a couple of commands to take still or video. The command to take a still photo is raspistill and the video command is you guessed it, raspivid.
The first thing I wanted to do was take a photo so I jumped into a terminal and ran the following command.
raspivid -o my_first_pi_image.jpeg
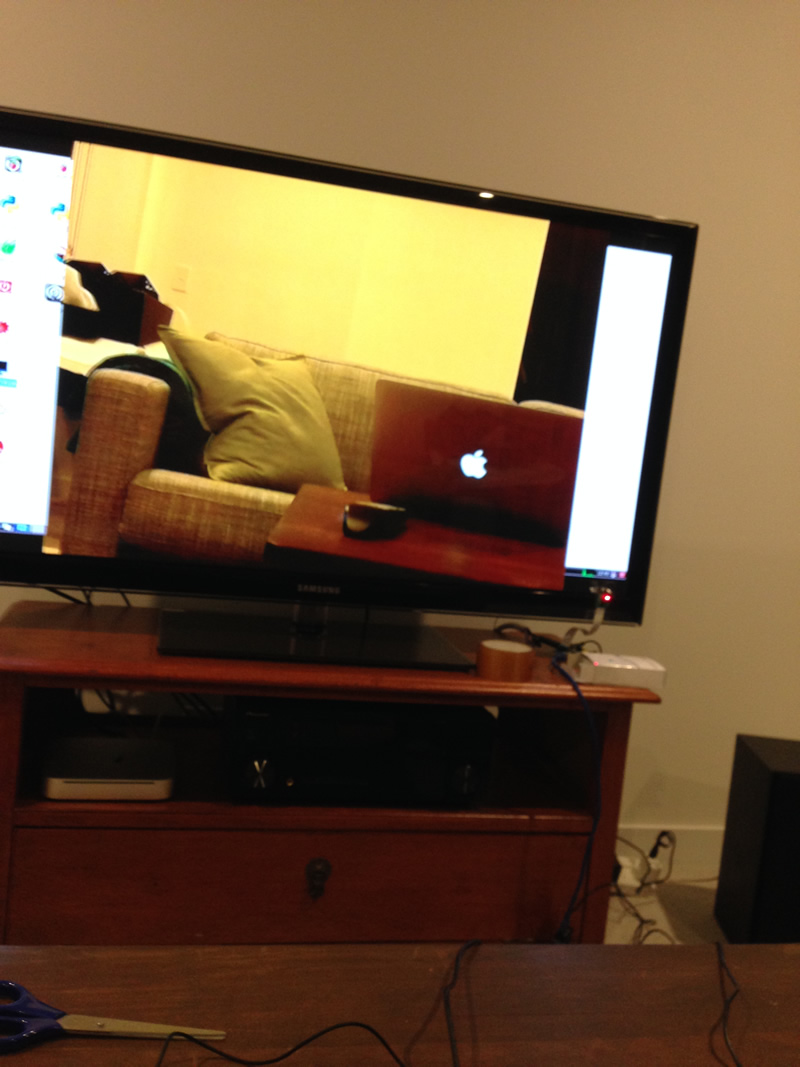
This popped up an output preview window in X that looked like the following. You can also see that my iPhone camera picked up the red from the CCD as it was taking the photo.
This displayed on the screen for a couple of seconds then dropped back to the prompt and sure enough I had my first ever raspberry pi photo. This is the image below. I’ve uploaded the full image size that you can view here (2.7MB).
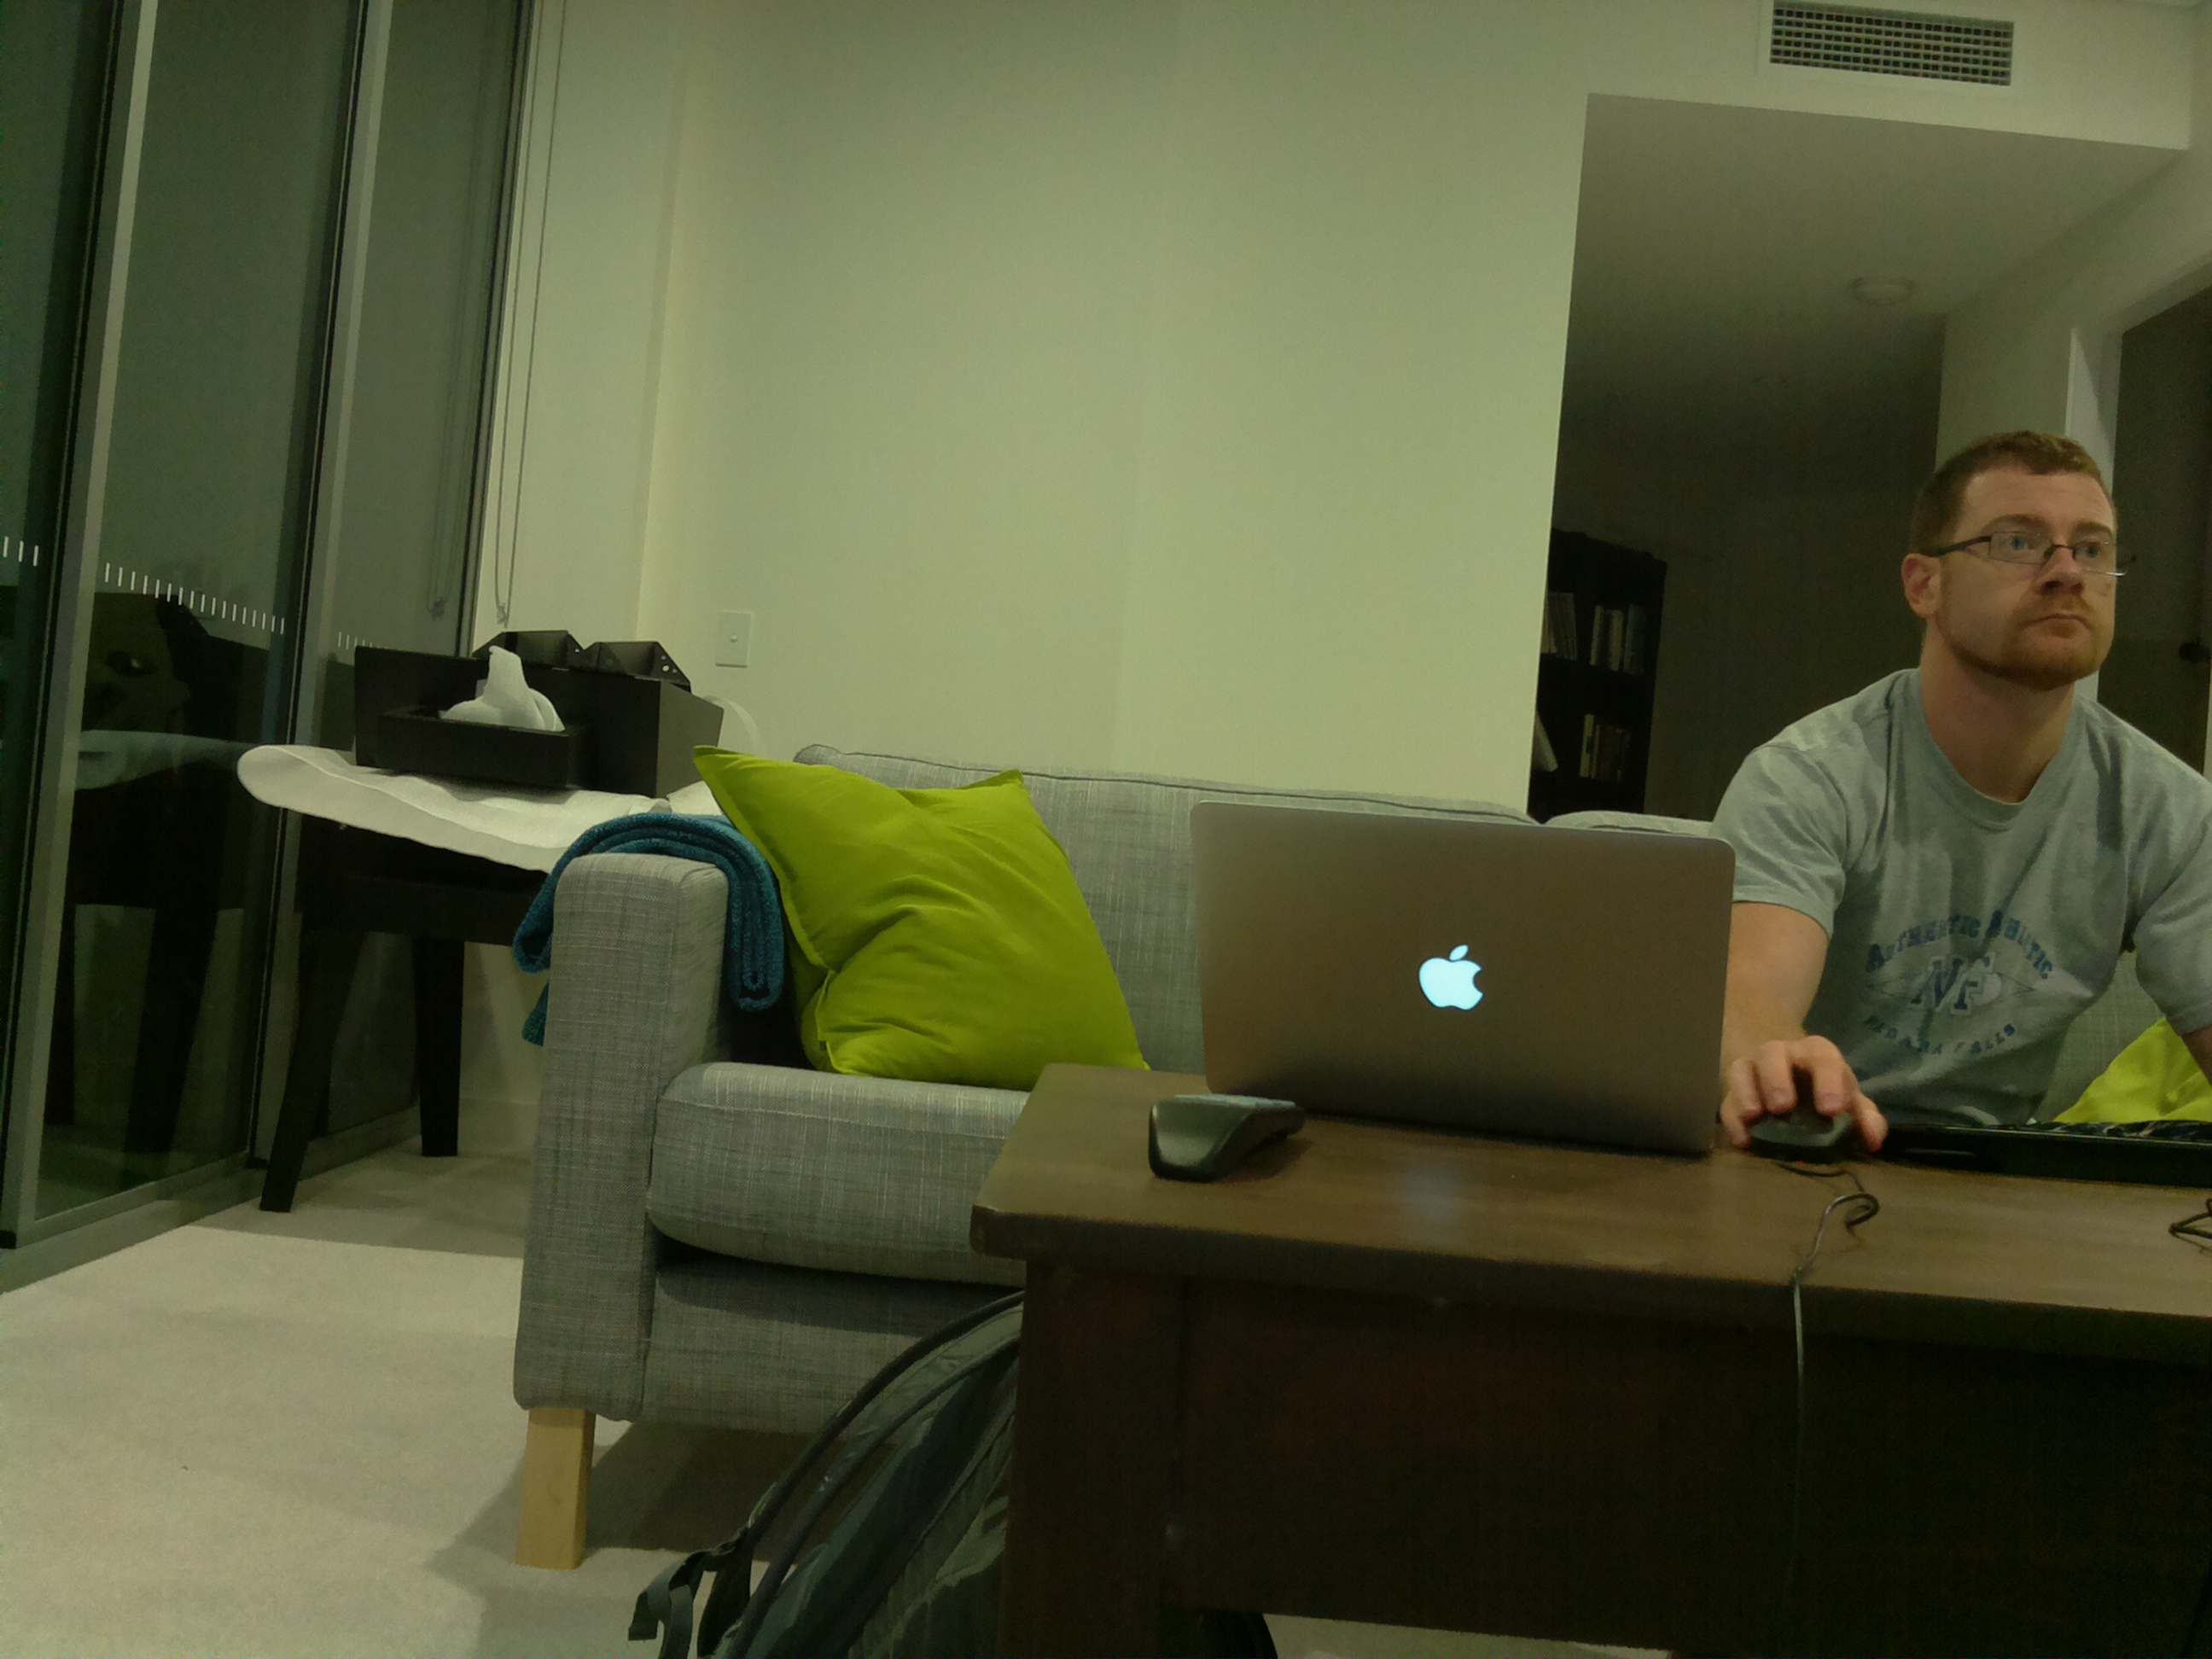
I’m surprised at how clear the image was for such a cheap piece of kit. I’m very happy with the result and it has motivated me to focus on getting my own Time Lapse camera working ASAP! Now that I had the still it was time to test the video capabilities of this little guy. I don’t think I will really be using the video capabilities as time-lapse uses stills but I wanted to see what I could get out of the unit anyway.
To capture a video you can use the following command. This will capture a 10 second video and save it to a file. This outputs a raw h264 stream without being in a video container which is difficult to view unless you have something like VLC installed.
raspivid -o my_first_pi_video.h264 -t 10000
You can upload the h264 video file directly to YouTube if you like but I converted it to MP4 before hand. To convert the video to an MP4 video container you’ll need to install gpac on the raspberry pi.
sudo apt-get update
sudo apt-get install -y gpac
Once you’ve installed gpac you’ll have a command called mp4box that will allow you to convert the h264 to an mp4 file. Run the following command to convert it.
MP4Box -fps 25 -add my_first_pi_video.h264 my_first_pi_video.mp4
Then you’ll have a nice mp4 video you can view on most modern computers. The two commands available for testing the camera are a nice quick way of making sure everything is working. Some people have used these commands wrapped in a shell script to make their time-lapse software but you can’t adjust the camera settings without first shutting the camera down. To get around this there is a pure python interface for the camera that gives you the ability to make some pretty sophisticated apps.
I will be using the python interface to create my time-lapse software and will be creating a web interface to configure things much like this version that is available on github by Lior Kirsh. It hasn’t been updated in 7 months so I will write my own so I can learn all about the camera.